As fiber cement siding becomes more popular and more homeowners are discovering its value for protecting and beautifying their homes, the need for better-trained and equipped installers is growing. More siding installers need to learn how to properly install it than ever before. In many ways, installing fiber cement siding is similar to installing wood siding, but there are some differences that need to be addressed in order for it to be installed properly.
As seen in this video, there are very precise steps you need to take to install the siding properly. However, the learning curve is easy, and you’ll find that with practice, you can install fiber cement as quickly and easily as other materials you’ve worked with previously.
A Step-by-Step Guide to Fiber Cement Siding Installation

Installing fiber cement siding is super simple if you know what you’re doing. Here’s a step-by-step guide to installing fiber cement siding on your home’s exterior.
Step One: Gather Your Tools and Supplies
Before diving into installation, it’s crucial to have all the necessary tools and materials on hand. Every installation is different, and your home may require more specialized tools. But here’s a general list of what you’ll need for a fiber cement siding installation:
- Circular Saw
- Safety Goggles
- Dust Mask
- Measuring Tape
- Galvanized Nails and Screws
- Nail Gun
- Flashing
- Caulk Gun
- Exterior-Grade Caulk for Sealing
- Fiber Cement Siding
Having these tools at your disposal will ensure a smooth installation process.
Step Two: Choose Your Design
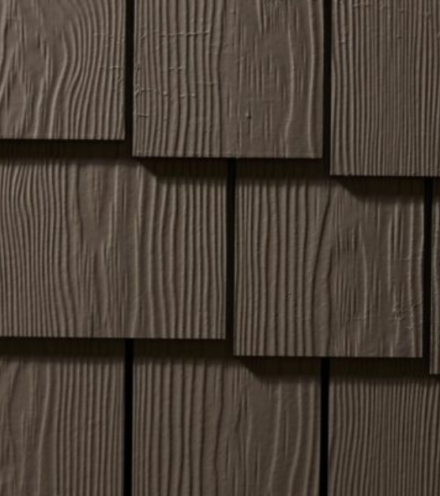
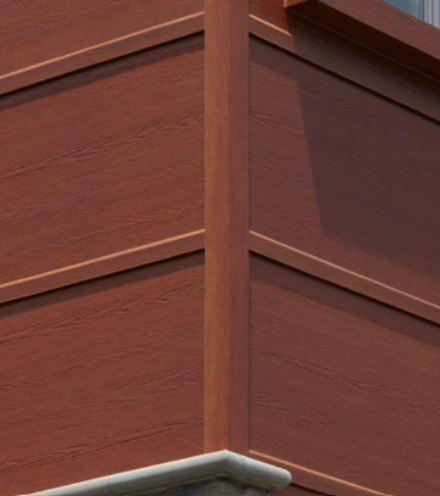
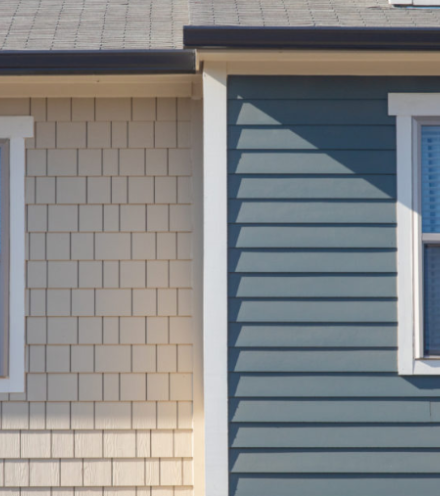
Now that you know you have the resources to install the siding, think through the design you want for your exterior. Do you prefer the traditional look of horizontal lap siding, or do you lean toward a contemporary design like vertical board and batten? Your choice will dictate the overall aesthetic and determine the cutting and layout requirements of your siding.
Step Three: Purchase Your Siding
Fiber cement siding from Allura is one of the best options available. It’s durable, attractive, and designed to withstand harsh climates. And our wide variety of colors and styles allows you to choose a design that complements your home’s design aesthetic and architecture, giving you the best exterior money can buy.
Step Four: Remove the Old Siding
Before installing new siding, the old siding must be removed entirely. Pry off old panels using a pry bar, starting from the bottom and working upward. Once removed, inspect the wall for damage and repair any problematic areas to create a strong foundation for your new siding.
Step Five: Prepare the Surface

Proper surface preparation is essential for a seamless installation. Make sure the sheathing is dry and securely fastened. Install a moisture barrier over the sheathing to prevent water infiltration, using flashing to protect vulnerable areas like windows and doors. A well-prepared surface will ensure that your siding remains secure and weather-resistant.
Step Six: Cutting the Fiber Cement
Whenever possible, cut the fiber cement boards upside down to get the cleanest lines. As with all sidings that produce dust, best practices include dust masks and tools that minimize the amount of dust produced when cutting the siding. There are even tools that allow for a dust-free installation.
Step Seven: Prime and Paint
Fiber cement boards can be purchased ready to install in a wide range of beautiful colors and stains. Or you can prime and paint them on-site. Whichever method you use, you will need to coat all cut ends of the siding with latex paint before installing the siding. Typically, this is done with the saw by the person cutting the siding. Once it’s cut, it can be immediately installed.
Step Eight: Installing the Siding

Like most siding, you will install the fiber cement boards from the bottom up when using a traditional, horizontal lap application. You will begin with a starter strip with weep holes that will allow moisture to readily escape. You will need a clearance from the grade that either follows installation instructions or local building codes (whichever is greater). Then, you would install your fiber cement corner and window trim.
Position your first course of siding ¼-inch below the starter strip and nail the siding into the studs 1 inch down from the top of the siding. Use galvanized siding nails and make sure that the nails penetrate a minimum of 1-1/4 inches into the framing. Do not overdrive the nails. Keep the nails flush with the siding. And it is recommended to put a flashing strip behind each butt joint to allow for water runoff.
Continue installing each course, making sure to leave a gap that the manufacturer requires at all trim locations, such as around windows and doors and at the edges of the installation to receive caulk. Except for larger widths, fiber cement siding is blind nailed. That is, the one nail that holds the siding is hidden behind the next row of lap siding.
As with any other siding installation, it is important to flash above all horizontal terminations, such as above windows, doors, and other protrusions in the siding. Make sure to leave an inch gap between the siding and the flashing at all flashing locations, such as each horizontal termination. When the siding is completely installed, you will caulk the vertical gaps between your siding and trim.
Fiber cement siding can be installed over foam insulation, up to 1 inch, as long as it conforms to regulations and standards.
For more thorough information on installing fiber cement siding, check out this resource: Installation Guide.
Safety Tips and Best Practices for Installing Fiber Cement Siding
When installing fiber cement siding, safety should be a top priority. Here are seven essential safety tips and best practices for installing fiber cement siding that you should follow:
- Wear Protective Gear: Always wear safety goggles, gloves, and a dust mask to prevent injury from dust and debris.
- Use the Right Tools: Use a circular saw with a carbide-tipped blade or fiber cement shears to reduce dust and create cleaner cuts.
- Work in a Well-Ventilated Area: If cutting indoors, ensure the workspace is well-ventilated or use dust-extracting equipment.
- Handle with Care: Fiber cement is heavy, so handle each board carefully.
- Nail or Screw Properly: Use galvanized nails or screws suitable for fiber cement, ensuring they penetrate the framing by at least 1¼ inches.
- Maintain Clearance: Follow local building codes or manufacturer guidelines to ensure proper clearance from the grade and other surfaces.
- Follow Installation Manual: Remember to always refer to the installation manual for specific guidelines and instructions.
Become a Better Installer
Make sure you keep the siding stored flat and covered when not currently in use, and pay attention to the installation manual. Fiber cement siding may be a different material than wood or vinyl, but a good installation is not difficult or time-consuming.
Follow the steps outlined above and review the video to ensure you know the correct installation procedure for fiber cement siding. With a little attention to detail, you’ll make sure that your fiber cement siding will last for decades to come. Install fiber cement siding today to start siding better homes.
Request a sample orcontact us today to learn more!


