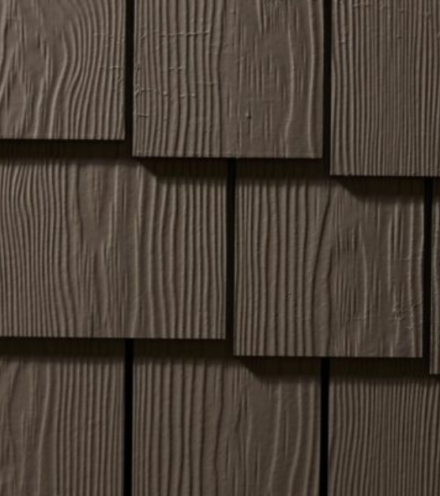
Fiber cement is increasingly popular with both homeowners and contractors — and it’s not hard to see why. It’s a great choice for both new builds and renovations, providing outstanding beauty and long-lasting endurance.
But for builders and contractors who haven’t worked with fiber cement before, installing a new product can seem daunting. Allura’s experts are on hand to share their tips for a stress-free fiber cement installation process.
1. Handle and Store the Product Correctly
From the lumberyard to the worksite, it’s important to properly store and handle fiber cement, as you risk bending or damaging the boards. We recommend using a Moffett forklift or a boom truck where available so that you can put a unit on each side of the house. This will allow you to reduce some of the back and forth, saving you both time and labor. When you do need to handle the fiber cement, always carry it on edge.
While fiber cement offers superior weather resistance once it’s been installed, it’s important that it stays dry as you work with it. Keep it flat and covered with a weather-proof blue tarp when you’re storing it at your job site.
2. Use the Correct Tools and Safety Equipment

Source: Unsplash
Safety is important on any job site. When installing fiber cement siding you need the following minimum PPE: safety glasses, an N95 mask, a hard hat and earplugs.
You don’t need a lot of fancy tools when installing fiber cement siding, and many of the tools will be familiar to builders used to working with other siding materials. A full list of tools recommended when working with Allura siding can be found in our installation manual.
3. Plan the Installation
Fiber cement is renowned for its great looks, its superior durability and its low maintenance. In order to pass on all the benefits of this product to your customers, it’s important to plan your installation before starting.
Map out a joint pattern so you can create a consistent stagger. Plan your flashing and clearance needs. This step benefits not only the final customer but helps you reduce waste on the job and time-consuming changes mid-install.
4. Cut the Boards
When cutting the boards make sure you have the correct PPE for the job, and where possible, work outdoors.
To ensure the product stays in top condition, we asked Dana Noonan, Allura’s National Product Installation Manager, how he sets up his cutting table.
Dana’s key tip is to use 2x3 blocks, covered with indoor-outdoor carpet, spaced along the cutting table. These blocks help protect the product as you work as you should always be cutting with the finished side face down.
With the blocks, you can easily slide the boards back and forth, without risking damage to them. Taking the time to set up your cutting table will save you time and money later as you’ll avoid having to do touch-ups as the boards are installed.
5. Finish Cut Edges
Every time you cut into pre-finished siding, you’ll be opening up the raw edge of the board. That needs to be re-sealed prior to installation.

Allura sells touch up kits that come in matching colors for all our products that can be used to finish and seal the product. The kits contain two sizes of applicator.
To seal the edges of the board, you simply need to clean the edge of all loose dust, and then use the larger applicator to swipe paint across. The board is now sealed and ready to be installed.
If, despite your best efforts, there are minor imperfections on the boards (for example, small blemishes or scratches the size of a dime or smaller) you can use the smaller applicator to touch up the boards.
However, if the damage is larger than a dime, we don’t recommend using the larger applicator to try and cover that damage. In that situation, it’s better to remove the board and cut around the imperfection.
6. Prepare the Canvas
The secret to a beautifully finished fiber cement siding job? According to Tim Larson, it’s working with a well-constructed frame.
He recommends that before you put up your house wrap, exterior sheathing, and weatherproofing that you ensure the wall is straight and free of imperfections, such as high nails. Take your hammer, pound it flat, shim it out if needed and prepare a perfect canvas for your siding to attach to.
7. Follow Instructions and Local Codes
Before starting any fiber cement project, we recommend thoroughly reviewing the manufacturer’s installation manual. All products require different handling, and it’s important to work to the required specifications. We also recommend brushing up on local building codes to ensure the necessary permits and requirements are met.
At Allura, we’ve put together several videos and articles to help you understand how to install siding that not only looks great but that will last fifty years. Key areas to pay attention to include fasteners, flashing and clearances.
Fasteners
It is important to select the right fasteners when installing fiber cement. Allura requires use of corrosion-resistant fasteners such as galvanized or stainless steel siding nails. It may be possible to use other non-corrosive nails as fasteners but check with local codes before doing so. Non-corrosive screws that are designed for use with fiber cement may also be used. You cannot use staples, clipped nails, aluminum nails or glue to fasten the product to the frame.
As you're fastening the fiber cement, pay careful attention to the recommended nail or screw placement, and take care with the depth of drive. These factors will ensure the boards have the best holding power and will give you a long-lasting job.
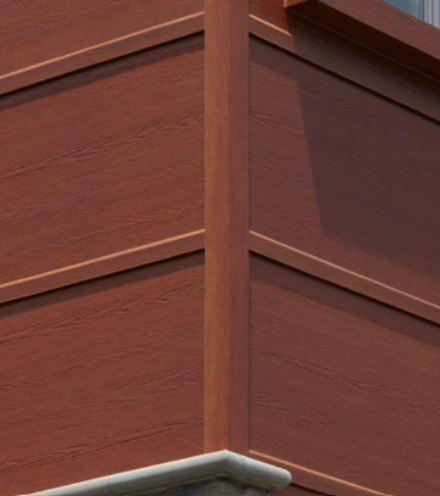
Flashing
We don’t recommend caulking the joints between boards as you install because it’s impossible to keep that joint maintenance free. Instead, we recommend using flashing to overlap those joints and allow water to run off.

There should be moderate contact between the boards at each point — because of the high stability and low movement of fiber cement, there’s no need to leave space for expansion. That means you should never see gaps or the flashing at the butt joints.
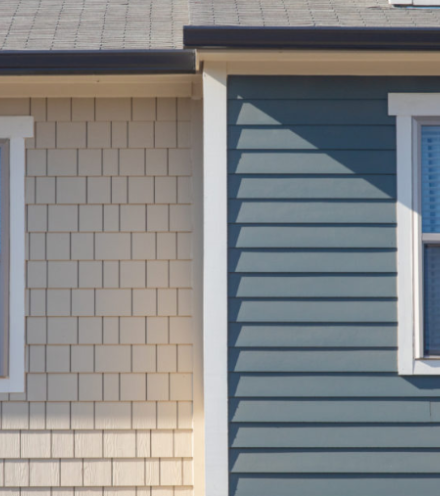
Clearances
Installing with proper clearances is one of the biggest factors in reducing movement (from expansion and contraction within the structure) and to protect the siding from water damage. Siding should always be installed 6” above the grade level of the house. At any spots where water or snow might collect — such as roofs, porches or patios — ensure a clearance of between 1-2 inches.
One of the biggest mistakes our experts have seen out in the field is improper clearances at windows and doors. You need to have a minimum of ⅛” around window heads, doors, hose bibs, lightblocks and other extrusions.
Install Fiber Cement With Confidence
Supplying and installing fiber cement opens your business up to a popular new market. Discover Allura’s wide range of easy-to-install products — and if you want to take your installation skills to the next level join our experts at one of our installer training sessions.